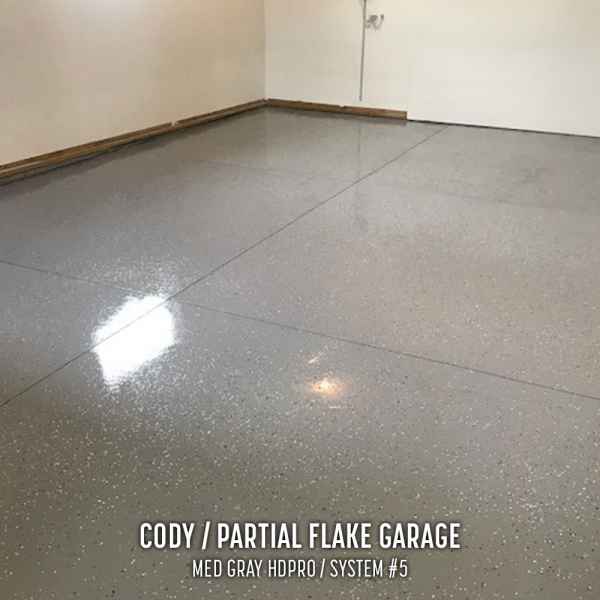
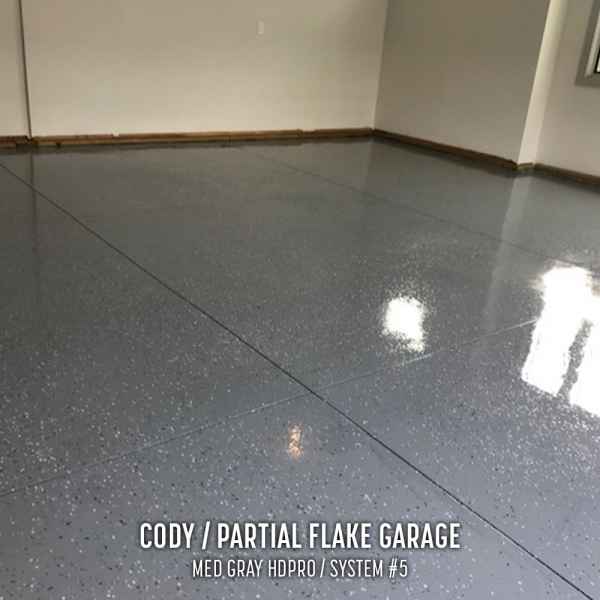
Installing a decorative flake system in your garage, auto repair shop, church, school, business, or really any place that needs a durable, long lasting floor system is a smart choice. Especially a system from Spartan Epoxies!
This system consists of randomly or fully broadcasting to rejection into an epoxy base coat (HDPRO). The flakes are then sealed with 2 coats of a clear top coat (urethane).
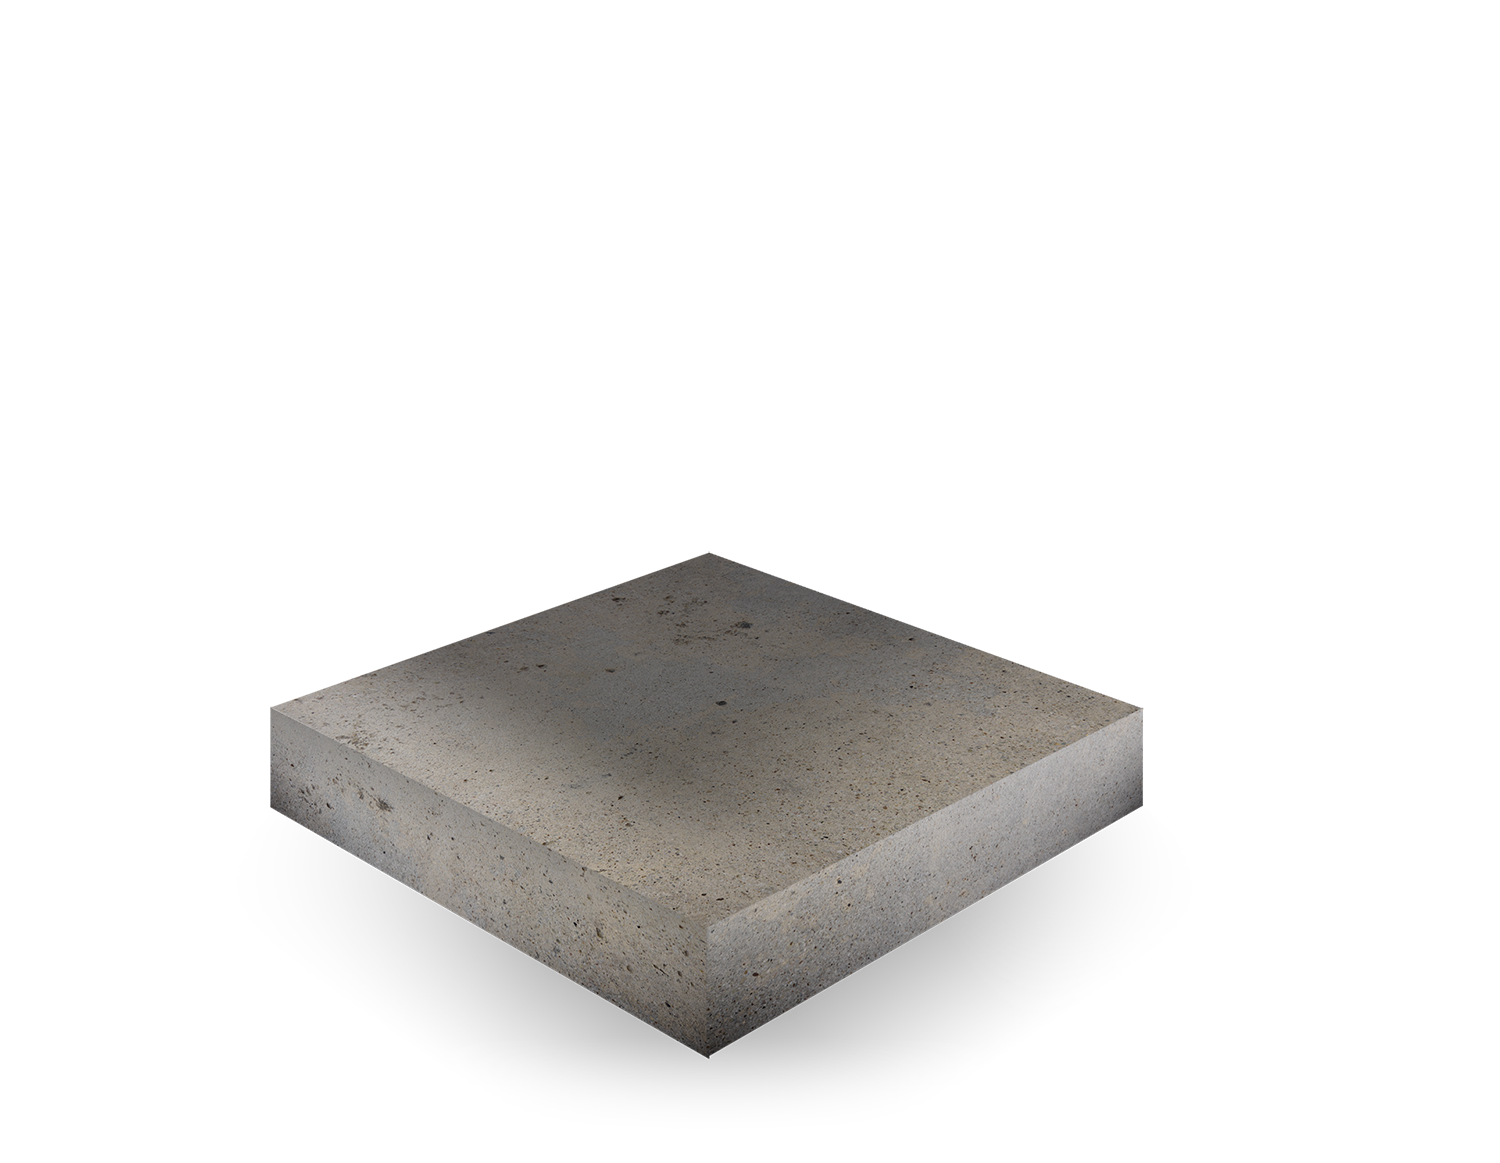
In the graphic you see here, we show you a prime coat, midcoat, full flake, and 2 coats of urethane.
Talk to a real person, and the same person throughout the length of your project.

Installing a decorative flake system in your garage, auto repair shop, church, school, business, or really any place that needs a durable, long lasting floor system is a smart choice. Especially a system from Spartan Epoxies!
This system consists of randomly or fully broadcasting to rejection into an epoxy base coat (HDPRO). The flakes are then sealed with 2 coats of a clear top coat (urethane).
In the graphic you see here, we show you a prime coat, midcoat, full flake, and 2 coats of urethane.
Talk to a real person, and the same person throughout the length of your project.




You can broadcast as little or as much flake as you desire.
HDPRO up to 12 mils or PRO100 up to 30 mils.
Many urethanes are available ask us for more info.
Two coats of urethane is for superior results.
From 60 mils to thin mil systems. Depending on the products used your overall coating may vary.
Always use a 3/8" nap roller.
Take your square footage divided by 9.
HDPRO and PRO100 have the same working time.
Applying a prime coat will make your floor longer lasting, more durable, and look better.
Apply HDWB @ 6mils or HDPRO from 6 to 12 mils.
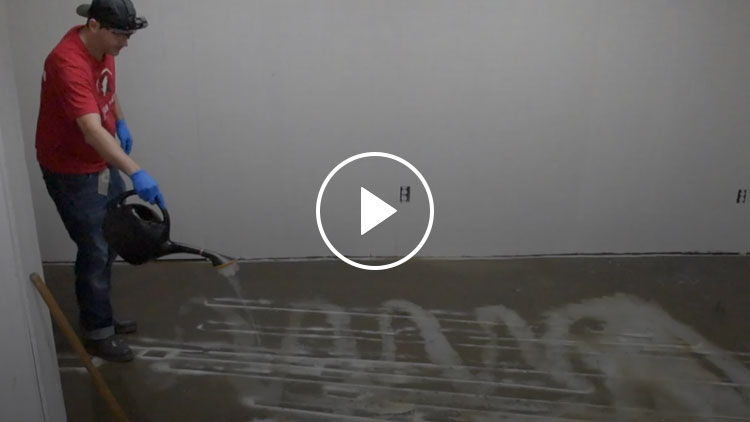
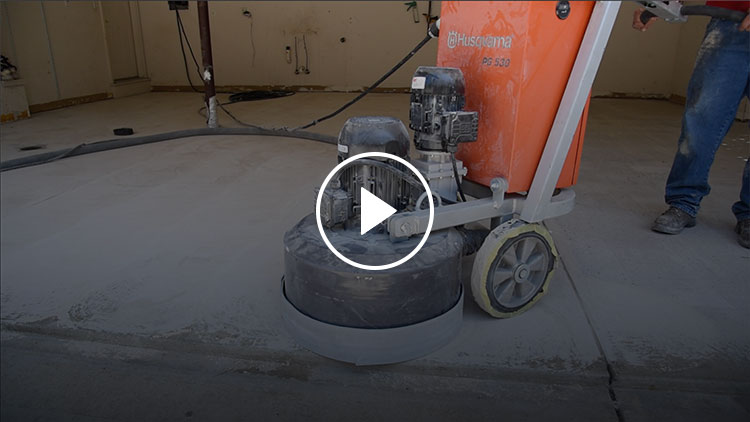
Diamond grind, shot blast, or acid etch your concrete to properly open the pores to receive an epoxy coating.
Need Help? Talk to a Consultant Now: 1-877-288-1952 or
WHAT IS HDPRO?
HDPRO is our core product, used in a variety of application scenerios. It's a 93% high solids epoxy system that's easy to apply, and can be used as a primer and/or a mid coat. It's our most versatile epoxy system.
HDPRO is a two component 93% (+/- 1%) solids epoxy colored coating designed for applications where a high solids primer is needed before applying high solids or 100% solids topcoats for build coats over concrete and other surfaces.
Low V.O.C's
Low or No V.O.C. Which enables this product to be applied in areas with little ventilation.
Durable
High wear, abrasion resistance and chemical resistance with a decorative appearance.
Easy to Apply
With a pot life of 35-55 mins, HD-PRO is easy to apply, and self levels. It's one of our most versatile epoxies.
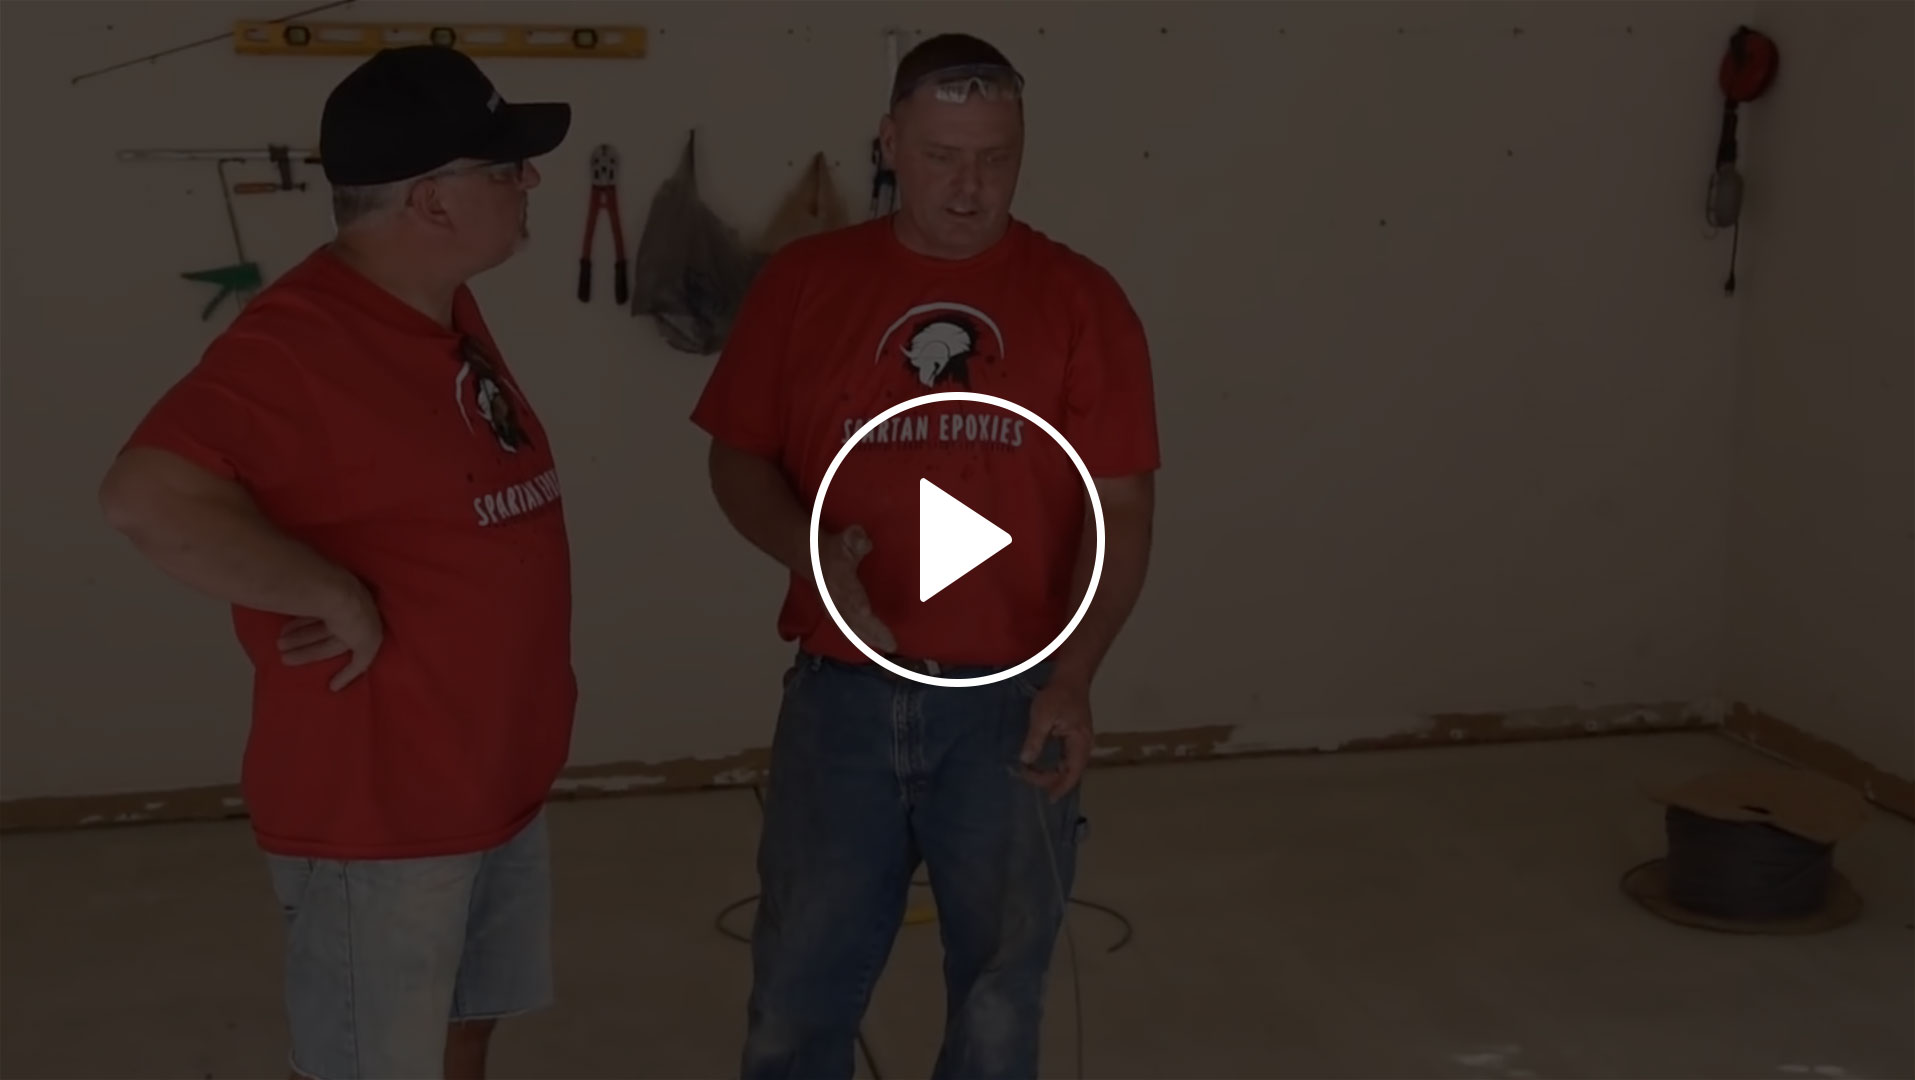
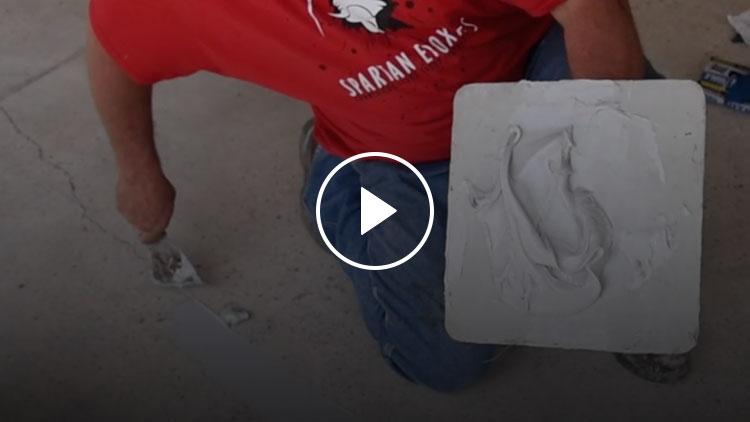
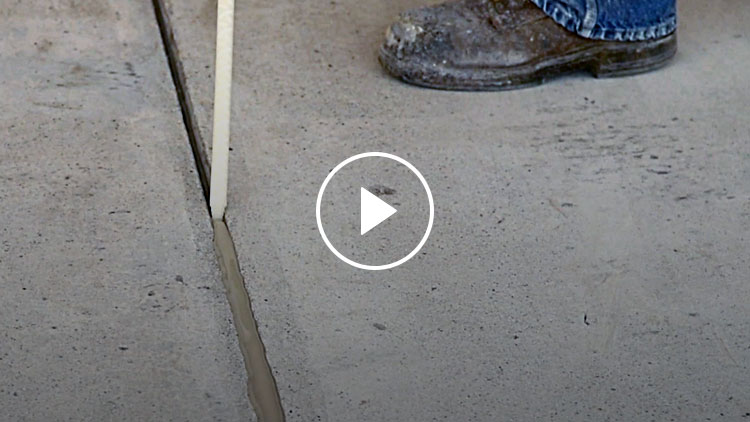
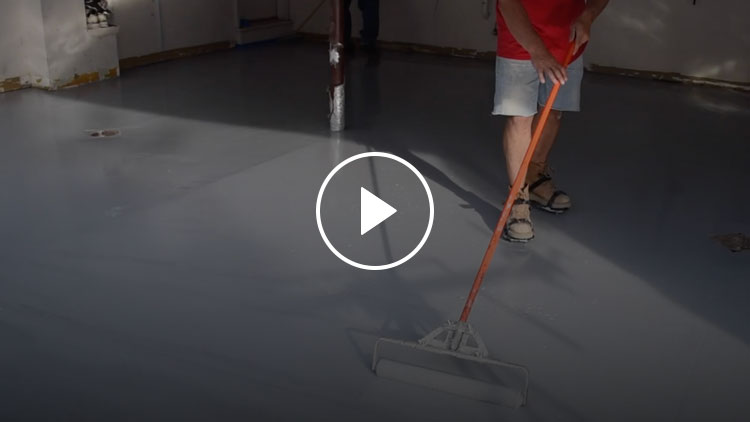
Professional Installation Videos
Available Colors

Every Spartan Epoxies Customer Receives
5 Star Support By True Experts
Customer Photos
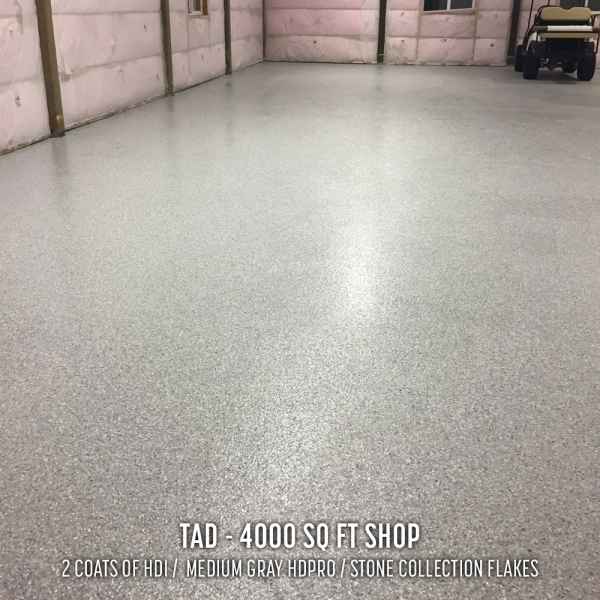
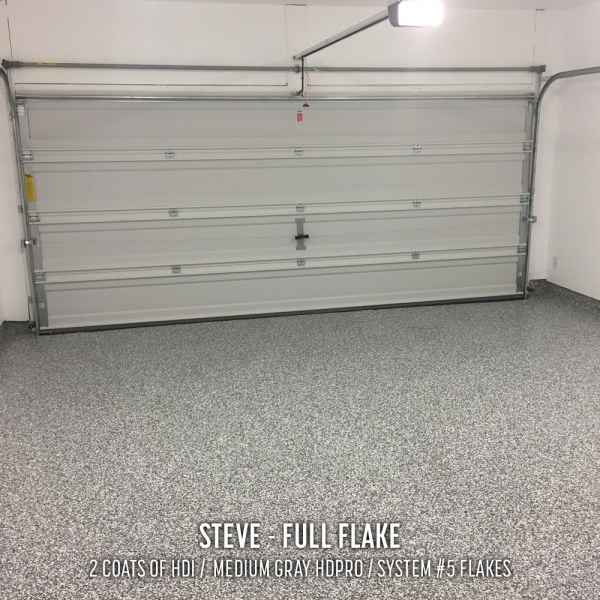
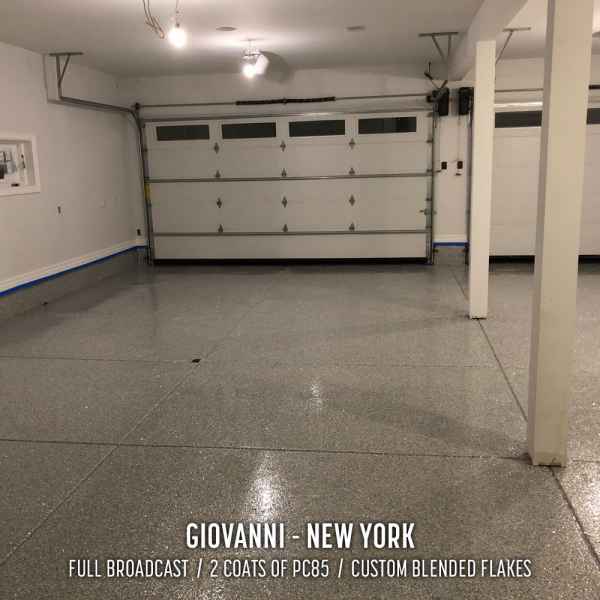
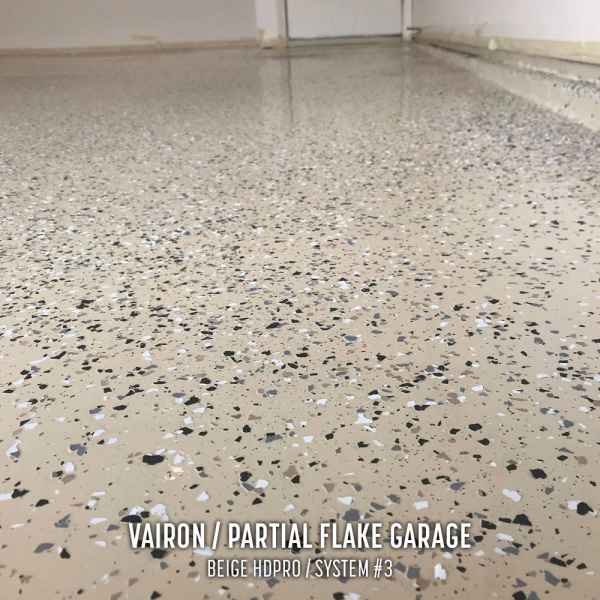
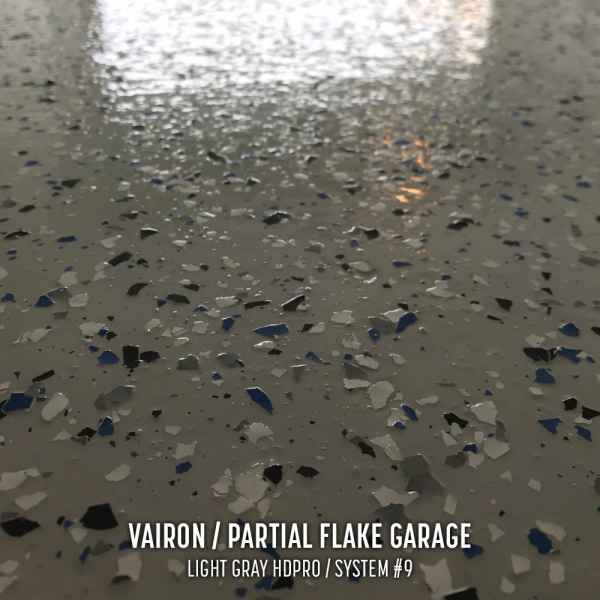
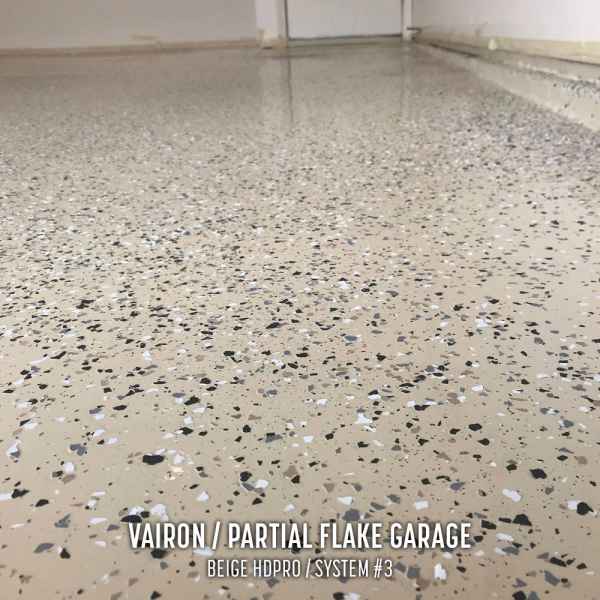
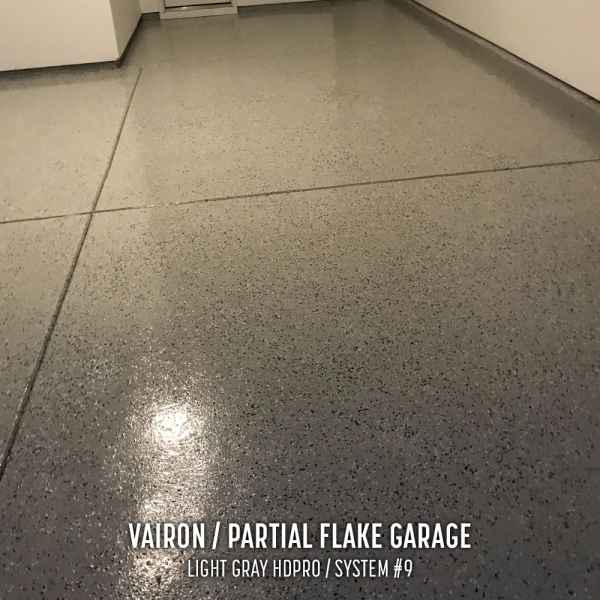
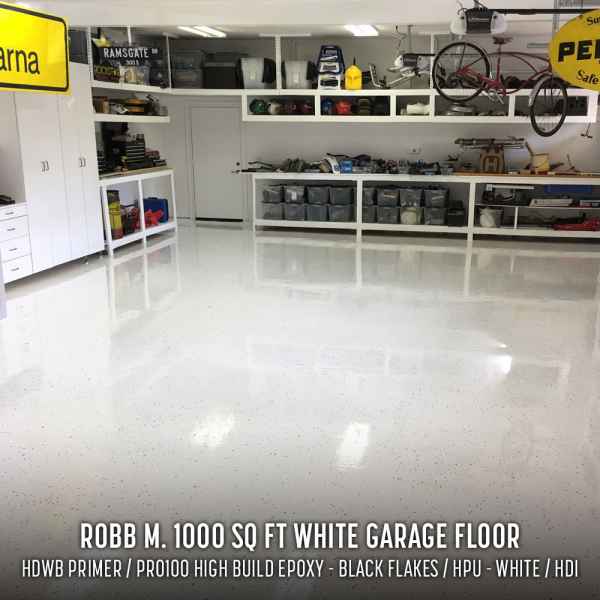
Make the floors or counters in your home or business the spot light of your space, just like these customers did! Bravo! For more photos visit our facebook page! https://www.facebook.com/spartanepoxies